
Fermenting vegetables – here's how you do it
Fermentation is a great way to preserve vegetables through the winter. By using salt, you create an environment where good bacteria thrive while keeping bad ones out. This not only makes your vegetables last longer, but also gives them a nice, tangy flavor. In this article, we'll show you how to ferment, step by step.

If you have grown a lot of vegetables and ended up with a surplus that you want to be able to eat throughout the winter, you need to preserve them. There are several different preservation methods, and fermentation is one of the most common. When you ferment, you use salt and the vegetables become sour and delicious. Many other preservation methods involve the use of sugar, for example when making jam or when you pickle (with water, sugar and vinegar).
What is fermentation?
Fermentation is a preservation method where, as mentioned, you use salt to extend the shelf life of what you have harvested. Salt is added to obtain a high salt concentration, which in turn promotes the lactic acid bacteria that are already naturally found in foods. The good bacteria thrive in the salty environment, but the environment in the container also becomes unfavorable for harmful bacteria that do not like salt.
Lactic acid bacteria are so-called good bacteria (probiotics). They thrive and grow in anaerobic environments, i.e. environments where there is a lack of oxygen, or in very oxygen-poor environments. Therefore, it is also important to remove as much oxygen as possible in the container to ensure a good fermentation process. How you do this, we will explain using the example of sauerkraut further down. But first, let's look at what you can ferment.
NOTE! Since you have not cooked the food when using this method, it is a living process that continues until you have eaten what is in the container. Therefore, the containers must be stored cool, for example in the refrigerator.

What can you ferment?
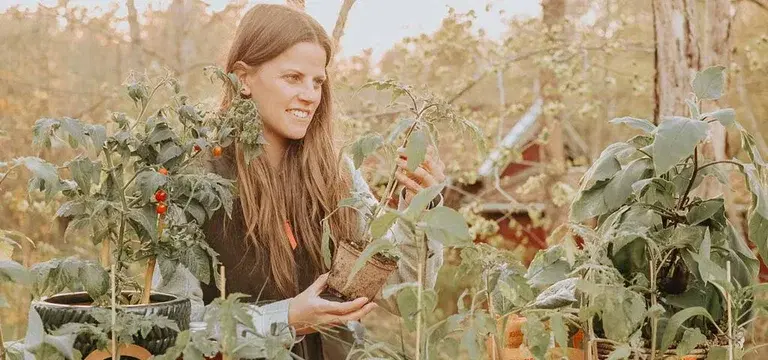
You can ferment almost anything, but the most common are vegetables. You can ferment sauerkraut (as we have as an example below), free-range cucumbers, carrots, peppers, chilies (to make your own chili sauce), onions (a lovely topping for various dishes), cauliflower, beets and much more. Only your imagination and taste buds set the limits. You can also ferment fruit, but salty fruit is not something that all palates appreciate.
Get started with fermentation
Once you’ve harvested your vegetables and decided what you want to ferment, it’s time to get started. The process is pretty much the same for all foods, but it varies a bit at the beginning depending on how you’re processing the vegetable in question.
For example, you can shred sauerkraut, ferment whole cucumbers, and slice carrots. It also depends on how you want to eat them later. But the more finely chopped the vegetables are, the more surface area the good bacteria have access to, and the faster the fermentation process will go.
In short, the method involves adding 2–4 percent salt to your processed vegetable, making sure there’s liquid covering it, and finally letting the container sit for a couple of weeks to “work.”
The amount of salt needed depends on what you’re fermenting. Foods that contain a lot of water, like cucumbers, need more salt than vegetables that don’t contain as much water. You weigh out what you’re fermenting, then calculate how much salt you need so that the salt makes up 2-4 percent of the mixture. But let’s break it down into steps to give you a better understanding of how this is done in detail. In our example, we’ve chosen sauerkraut because it’s one of the most common vegetables fermented.
You need this
- The vegetable you want to ferment
- Salt without iodine, preferably sea salt or Himalayan salt
- 1 large bowl
- Kitchen scale
- Glass jars to store the fermented food in (sterile)

Fermenting – step by step
Here we explain step by step, but using sauerkraut as an example.
- Prepare the jars
It is important that the jars you plan to store in are really clean, preferably sterile. Wash them thoroughly. If they have a rubber ring on top for an extra tight seal, this should be boiled. - Prepare the sauerkraut
Start by removing the outer leaves of the sauerkraut, and remove all soil and dirt. Then finely shred it, put the mixture in a bowl and weigh it on a kitchen scale. If you prefer to ferment vegetables in pieces, you need to weigh these together with the added water. The water should cover the vegetables well when they are in the jar, and you weigh the water and vegetables together to get the right amount of salt in the next step. - Add salt
You should have two percent salt in the cabbage mixture. Calculate how much two percent is, based on the weight. If the mixture weighed 250 grams, multiply 250 by 0.02 to find how many grams of salt to add. - Add the salt
Sprinkle the salt over the cabbage mixture and rub it in so that it covers the surface evenly. Continue until the cabbage begins to release liquid. You can tell this is happening when liquid forms at the bottom of the bowl. - Fill the jar
Fill the jar completely with the cabbage and liquid mixture. Do this by taking a handful of sauerkraut, placing it in the jar, and pressing it down as hard as possible. Press each portion down firmly to avoid air pockets, this reduces the risk of oxygen in the jar. Continue adding new layers and pressing them down until the jar is about ¾ full. You want some free space at the top to prevent it from bubbling over during the fermentation process. - Cover with a whole cabbage leaf
Once you have filled the jar with the right amount, place a large cabbage leaf, covering the entire top, and press it down against the cabbage mixture under the liquid. - Weight to keep everything in place
Place a weight on the leaf in the jar. There are special preserving weights you can buy, but you can also use a plastic bag filled with two percent salt water – just tie it shut and place it in the jar. This is to prevent the mass from rising to the surface when the fermentation process starts and the gases start to bubble up. You don't want the mass to come into contact with the air, as this can lead to mold. The mass should be below the liquid.
More about storing the harvest
Read more:


You are here: