
No-dig perennial bed – create a new bed without digging
Do you want a new bed in the garden but feel hesitant to get started? For many, the preparation—digging up and getting rid of heavy grass clumps and troublesome weeds—isn’t as enjoyable as the planting itself. Here, gardener Malou Augustin explains how you can create a new perennial bed without any digging.

Shortcuts in the garden are great, whether you're transforming a small or large area. When these shortcuts also make maintenance easier, they’re worth their weight in gold. That’s exactly why I love the No Dig method. No Dig makes it easier to both establish and care for the garden. The method works well on lawns, even if you have stubborn weeds like couch grass or ground elder.You just need to be a little extra patient, careful, and persistent.
Many people use the No Dig method to establish new areas for growing vegetables or flowers, but it actually works well for perennials too—those plants that return year after year. Sounds fantastic, right? It really is!
What is No Dig and how does it work?
The principle behind No Dig is that you cover the area you want to plant or grow on so well that everything already growing there, like grass and weeds, is suffocated and dies. Over time, this decays under the new bed. In practice, here's how you do it:
- Cover the area where you want to create the bed with a thick layer of newspaper or cardboard to block out all light. Without light, the grass and weeds will die.
- Add soil over the newspaper or cardboard. You can also add different materials in several layers, such as silage, grass clippings, manure, and compost, before topping it all with soil. This way, you won’t need as much soil.
The advantage of No Dig, in addition to not needing to dig, is that life in the soil is left undisturbed. Earthworms and microorganisms continue their natural digging. The underground network of fungi is also left in peace. Fungi and plants work together in a fascinating symbiosis called mycorrhiza. Over time, these create loose, fertile soil.
By feeding the soil from above with a layer of organic material once a year, you also enrich the soil. In this way, you create very good soil.
What is the difference between a No Dig perennial bed and a No Dig vegetable garden?
Actually, there isn’t much difference between the two methods, but one important difference to consider is the soil depth. For a No Dig perennial bed to work, the perennials need to be planted in enough soil.
Perennials bought in pots should be planted at the same height as they are in the pot. The soil in a new bed will sink somewhat in the beginning, so you’ll need quite a bit of soil. This can be solved in a few ways.
You can either create a raised bed with edges that hold the soil in place, or you can make a bed without edges that is highest in the middle and slopes down to the sides. With edges, it’s easy to make the bed as high as you want. A bed without edges works well too; you just need to remember to water thoroughly throughout the establishment phase, as the edges can dry out quickly where there’s less soil.

What if there is a lot of weeds in the area?
The No Dig method can be used even if there are weeds like ground elder, dandelions, or couch grass in the area. The best approach in this case is to prepare the bed early, after the snow has melted but before anything has started to grow.
Start with a layer of compost, followed by an extra thick layer of cardboard or newspaper to ensure the weeds are suffocated.
Much of the weed will die by early summer, but some may cling to life a bit longer. Therefore, check the new bed once a week and remove any weeds that appear. Since the soil is loose and fine, it’s easy to pull up the weeds with their roots.

How to create a perennial bed without digging
Preparation
Start by covering the ground with thick cardboard, such as moving boxes, or lay several layers of thinner cardboard or newspaper. Be sure to overlap them so that the weeds cannot find light and push through any gaps in the cardboard.
If the bed will have edges, such as a wooden frame, the cardboard must be placed under the edge.
Cover the cardboard with organic material, such as small twigs, leaves, compost, or grass clippings. If you’re making a raised bed with high edges, you can use quite a bit of organic material at the bottom. You can even place thicker branches at the bottom and finer organic material on top of them. Just remember that this will sink as it decays.

Soil
Now it’s time to fill with soil. Perennials need at least 20 cm of soil, preferably more, since the soil will sink and become more compact over time.
If you’re creating a bed without edges, which is highest in the middle and slopes down to the sides, it might be a good idea to plant ground-covering plants that spread slightly toward the edges. You can plant these a bit higher in the deeper part of the bed. I use forget-me-not sister and hosta/plantain lily in this bed.
Fill with soil and step through the bed to press out larger air bubbles. I use Plantasjen's Premium Planting Soil, which can be ordered in bulk on a pallet. It’s perfect for larger garden projects.
Plantasjen's Premium Planting Soil is specially designed to suit most garden plants. It contains light sphagnum moss, which ensures the soil is airy and can absorb large amounts of water. It also contains dark sphagnum moss that helps retain moisture in the soil and binds nutrients that become available to the plants over time.

Planting
Now for the fun part, it’s time to plant the perennials! Plant them at the same depth as they are in the pot. Press the soil around the root ball so that it makes contact with the surrounding soil. This way, the roots will find it easier to spread into the surrounding soil, and the root ball won’t dry out as quickly.
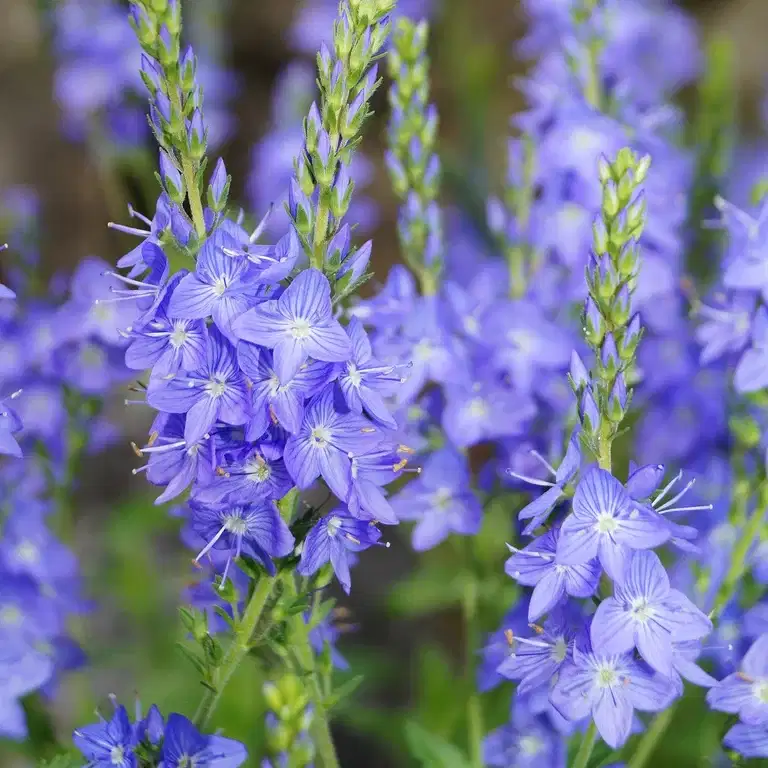
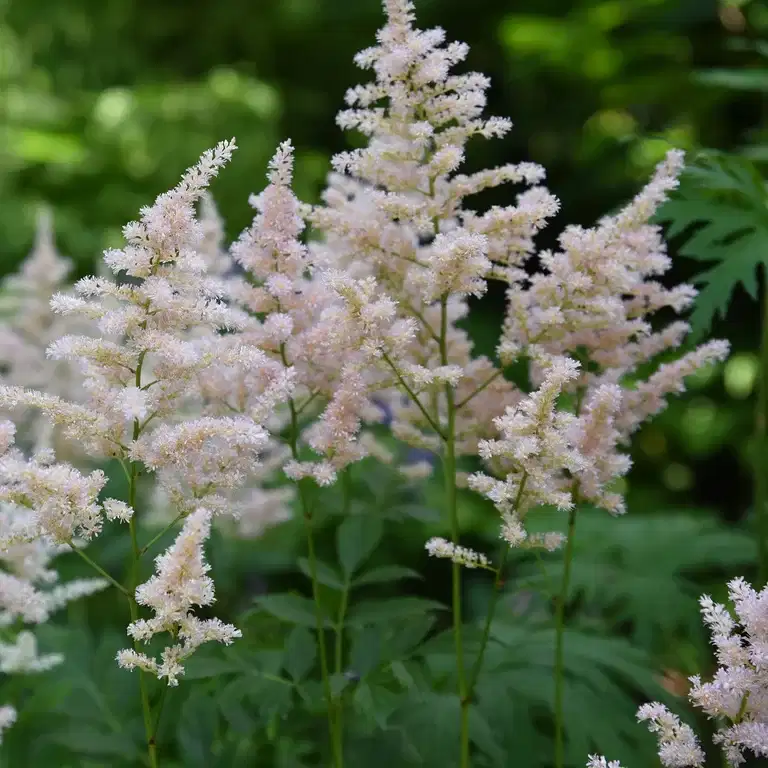
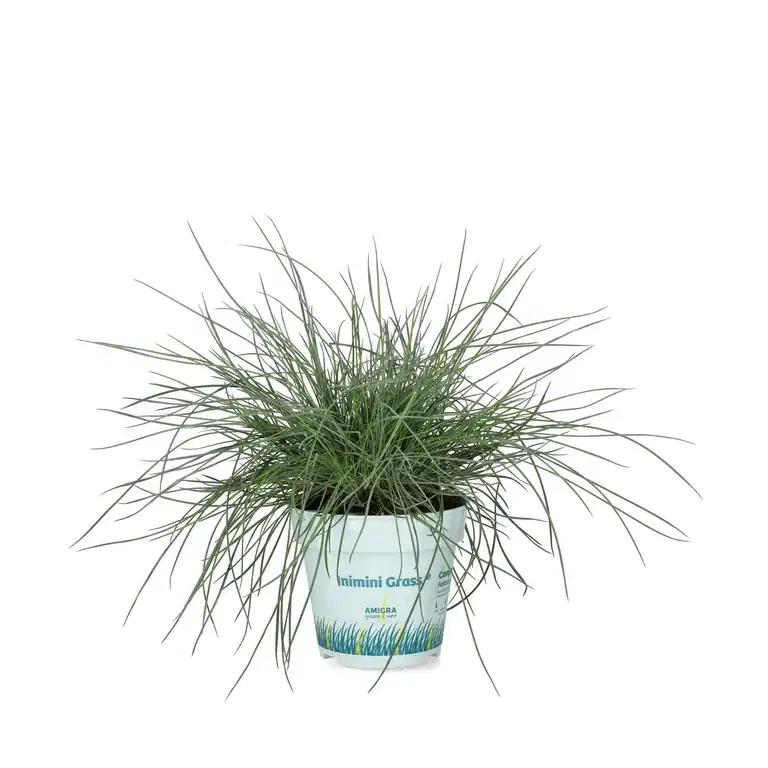
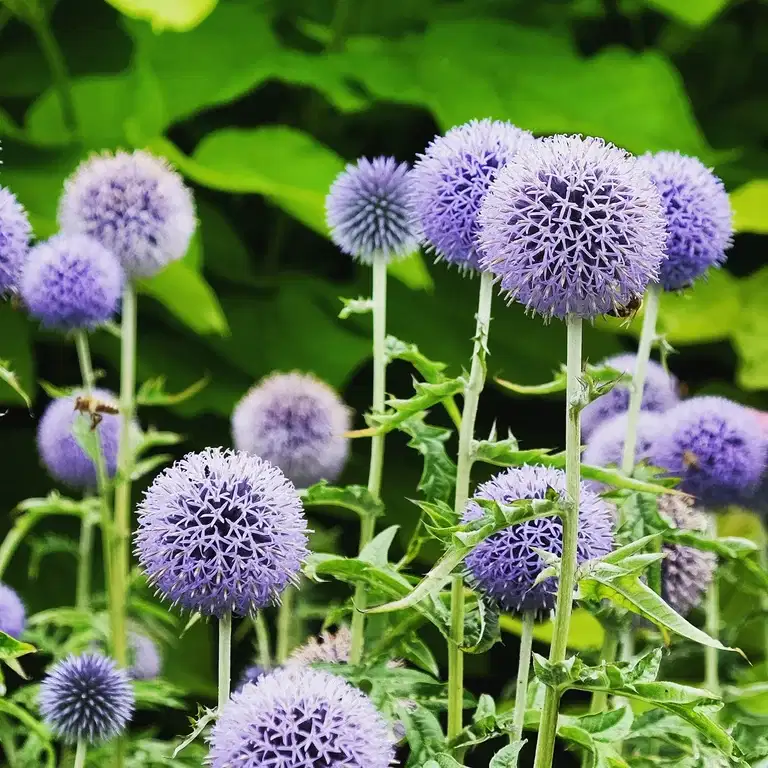
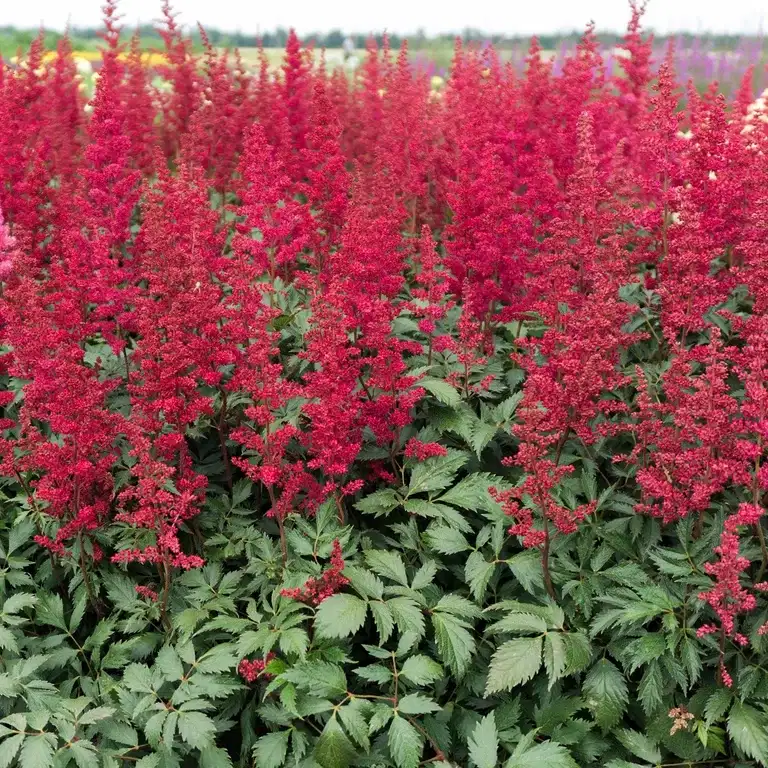
Plantasjen has a wide selection of perennials, and for this bed, I’ve chosen plants that tolerate shade, including hosta/plantain lily, forget-me-not sister, astilbe/japanese fern, and dwarf horsetail.
After planting, it’s time for watering! Water slowly, so the water sinks deeply into the soil. Perennials need 20–30 liters of water per square meter per week during the establishment phase.

Care
Now all that’s left is to enjoy your new bed, water it, and occasionally check for weeds.
One tip is to cover the soil around the plants with mulch or wood chips until the plants have become established. This prevents weed seeds from settling, helps keep the soil evenly moist, and adds nutrients to the soil.
I hope you’re now inspired to create your own No Dig perennial bed. Good luck!
Written by:
Malou Augustin, gardener, garden designer, and garden inspirator who lectures and offers online courses on garden design and cultivation.
@evergreengarden.se
Read more:


You are here: